Saturday, April 27, 2013

Pintrest and Movie Night - Candy Corn Drink

What is a movie and snacks without a good drink to wash it all down?  For our drink we chose this candy corn drink featured on Better Homes and Gardens.


When we were reading the directions, we figured out that you were supposed to stir it all up before serving it.  We both thought that was pretty lame, since it will only look like candy corn until it is stirred.  Instead, we decided to pour it into separate glasses while we were making it, so each person could experience the candy corn look and mix it up themselves.

The recipe itself is pretty easy and straight forward.  Just to make sure to start it a few hours ahead of time, because the gelatin mixture needs time to thicken.  For this one we just mixed the gelatin mixture together, poured it in our glasses, and let it set in the fridge while we did other things.

Later, we started to hand whip the cream (you could easily use a denser store bought whipped cream for this one, such as cool whip), and then we remembered that she had a mixer.  It is a lifesaver, I do not miss the days in culinary school where they forced us to hand whip our cream all the time.

It was then time for the moment of truth: would the layers stay separated, or was it doomed to mix together?  


(break for suspense)


Amazingly, it actually worked.  We poured it over the back of a spoon and the layers didn't mix together at all!  By that point, I was already impressed.


They tasted pretty good too.  A little sweet for my tastes, I would have preferred it with a little less whipped cream.  Everyone else enjoyed them too.  It had a nice citric flavor, which is a little odd for a fall drink, but the cuteness more than makes up for that.  Another cool thing about it; after you mix it all up, if you let it sit for a while it almost sort of separated into layers again!

Here is the recipe, if you decide to try it.

Ingredients:
1 four serving size packet of lemon gelation
1 cup of boiling water
2 cups of mango nectar
3 1/2 cups orange soda (chilled)
1 cup whipped cream (or make your own with 1 cup whipping cream and 2 tablespoons of honey)
1/2 cup candy corn for decoration (optional)

Directions:
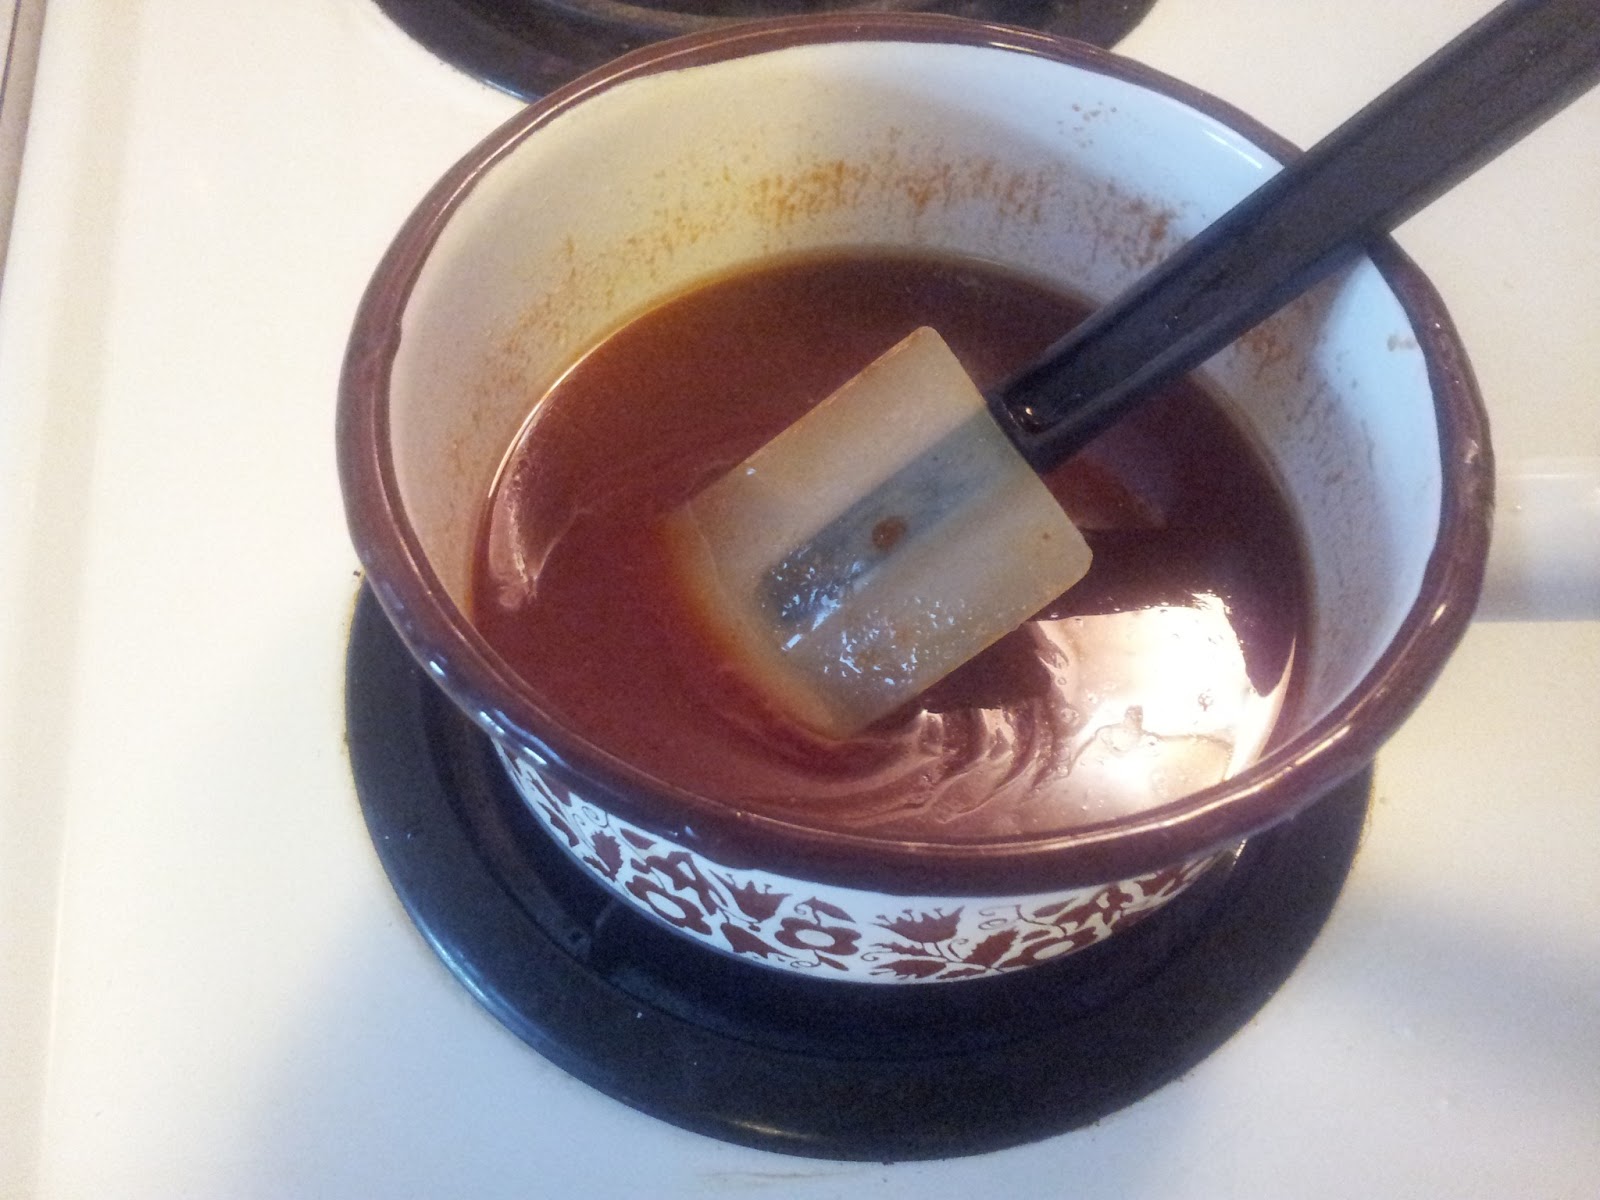
1. Mix gelatin and boiling water in a large bowl until it is all dissolved
2. Stir in mango nectar
3. Pour mixture into a 2 quart pitcher, or divide evenly into separate glasses.
4. Chill about two hours (you want it to be thick, but not a solid like gello)
5. Pour orange soda over the gelatin layer, try pouring it over the back of a large spoon to keep the layers separated a bit better.
6. Top with piped whipped cream and candy corn

Directions for whipped cream:
1. Combine whipping cream and honey in a large bowl.
2. Beat by hand or with an electric mixer until stiff peaks form (when you dip a spoon in and pull it out a peak like a mountain should be seen and not flop over too easy)  Be careful not to over mix.

Friday, April 5, 2013

Pintrest and Movie Night - Cheesecake Stuffed Strawberries

I am so sorry!  I meant to post this the day after I posted about the bloomin' gooey cheese bread, but life happened.  Here is the sweet continuation of our Pintrest and movie night!

We decided to go with cheesecake stuffed strawberries.
How can someone go wrong with strawberries and cheesecake?  Especially little strawberries stuffed with cheesecake?  Look how adorable they are!

The directions on this one are a little deceptive.  It claims it only takes a few minutes to put together, however prepping the strawberries is a little time consuming.  I was doing that while my friend was making the filling.  It was a little hard hollowing these little sweet suckers out.  I was not as fortunate to have many that were already hollowed out as the person did who wrote the original recipe.  The knife I was using really liked slipping and cutting through the strawberry.  Never the less, they eventually got finished  my friend filling them as I cut, we swapped jobs at the end with similar problems.

They also did not like standing straight up in our pan.  We finally finished filling and balancing to find out we had a good amount of leftover filling.  Really, there was enough for another half a pound or more.  We cut up some extra strawberries and still had more!  We ended up giving the extra to my boyfriend for quality control.

We crushed up two graham crackers in a sandwich bag (it only really needs one) and sprinkled it on top, which is a lot faster than dipping.  We were getting pressed for time at this point.

This is what we ended up with.
They were still pretty darn cute.  Know what?  They were also pretty delicious too.  They also hold up well in the fridge overnight.  My mother came over and snagged some of the leftovers the next day.

Here is the recipe

Ingredients:
1 pound large strawberries
8 ounce block cream cheese – softened
3 – 4 tablespoons powdered sugar (depends on how sweet you want the filling)
1 teaspoon vanilla extract (or use almond, lemon, etc.  I think lemon would have worked really well in this one )
Graham cracker crumbs (or crush your own)

Directions:
1.Wash the strawberries and cut off the tops with a paring knife, make sure the inside of the strawberry is hollow, if not make it so with the paring knife.
2. In a mixing bowl, beat the powdered sugar, vanilla extract, and cream cheese until well mixed and creamy.
3. Put filling in a piping bag (or a sandwich bag and snip a corner)
4. Pipe filling into strawberries
5. Dip finished strawberries in graham crackers, or sprinkle them on top
6. Enjoy them

Also, these would be awesome with a little drizzled chocolate!  Try it and let me know how it is!

Tuesday, April 2, 2013

Pintrest and Movie Night - Bloomin' Gooey Cheese Bread

I am so happy I had my first Pintrest night with a friend.  It was so much fun, and a great bonding experience.  Then again, I always enjoy cooking with friends.  We made a special board on Pintrest for our movie night and each added a few things to it.  We ended up choosing and cooking four things from our board (well we chose five, but four out of five is still pretty awesome).  My friend also has this awesome huge kitchen that has so much work space!  It was a nice change from my cluttered little kitchen.  

For the movie snacks we decided to go with a savory item, a sweet item, and two drinks.  I am going to separate the recipes into multiple posts so they are easier for you to find later and read if you want to try them out.  I don't have my normal detailed pictures of the process, because I completely forgot to take any.  I know, I know, what kind of blogger am I?  Hopefully you will forgive me.  Luckily my friend came to the rescue and is allowing me to use her photos of the end results.  

Our savory item was Bloomin' Gooey Cheese Bread.  
We couldn't actually find a recipe on this one, just a picture.  It looked simple enough though, and we are both good cooks so we made it work.

We scored our loaf bread (we couldn't find "regular" white loaf bread, so we went with a garlic one) almost all the way through, cut the block of cheese and onions, and started inserting slices of cheese.  This part was actually harder than it seems.  We found out rather quickly that it gets hard to put cheese slices in about a third of the way through the process.  My boyfriend saw this as a challenge though and was able to put in all the slices, well, at least the ones that he didn't sneak away from us and eat while we were prepping.  

Then we melted the butter with about a teaspoon of pepper and the cut green onions mixed in.  This mixture looked liked we were making a different kind of butter for a different kind of snack.  The kind that stoners make out of weeds, if you know what I mean.  We poured this mixture over the bread and then preheated the oven to 350 degrees fahrenheit (about 175 Celsius to my international readers).  We baked it for about fifteen minutes and pulled it out, fingers crossed.

Tada! So it doesn't look as pretty as the pin picture, things rarely do.  It was still really good and really cheesy.  It was easy to pull apart and eat and everyone seemed to like it.  My boyfriend went straight up crazy over it.  Between three of us we almost had it gone after one movie.  It is also rather inexpensive to make, so I suggest to try it.  The garlic bread was a good call, it added another great flavor to the food.  It is hard to go wrong with garlic.  It makes a good appetizer or finger food.

Here is the recipe we came up with:

Ingredients:
1 unsliced loaf of bread (I really suggest you try a bread with garlic baked in, it was a good idea)
16 oz monterey jack cheese (or cheese of your choosing, so long as it melts well) 
1 stick (1/2 cup) butter
1/3 cup (about) chopped green onion
1 teaspoon pepper

Directions:
1. Preheat oven to 350 degrees F (175 degrees C)
2. Score bread almost all the way through until, you want the top of each "pull" to look like a one inch square and place on a baking sheet (make sure it is a ridged one so butter doesn't spill)
3. Cut the cheese into thin slices and then cut the slices in half
4. Have fun stuffing those bad boy slices into the bread.  Don't give up, I believe in you!
5. Place the butter and and pepper into a bowl or mug and microwave until melted
6. Mix chopped green onions into the butter mix
7. Pour butter mix even over the top of the bread.  Try to do it slowly so more soaks in
8. Bake for 10-15 minutes, or until the cheese is melted
9. Enjoy them, they will go fast


Sunday, March 10, 2013

Vegetarian Shepherds Pie

Sorry it has been so long since my last post, midterms have been a bit rough.  Now that they are over with I want to get back on a health kick to shed some of the stress weight I put on.  Tonight I decided to make vegetarian shepherds pie.  It is loaded with vegetables and you don't feel as guilty when you eat more than a super small amount.  Hell yeah.

So I did not actually follow a recipe for this one.  I just browsed through some to get a general idea and made it up as I went along.  I started by boiling some sweet potatoes.  It takes a while, so make sure to put it on first.  Check them periodically with a fork, when they go into the flesh easily, they are ready.  You could use white potatoes for this part, but who would want to when sweet potatoes taste so good? I don't think white would taste as good anyways.

See?  Look how tasty they seem, just sitting in water and being a potato

While that was going I heated about two tablespoons of olive oil in a deep skillet.  Then I chopped up about half a cup of carrots and one large onion and added them in.  

Once the onions are sweated and the carrots are nice and soft the flour and vegetable broth gets put in.  I was already worried by this point that one can of broth was not enough, but I assure you, it is.  Once everything is added take it off the heat and add the rest of the vegetable to it.  Pour it all into a greased up pan.

By this point it started looking like one of those frozen mixed vegetable pouches you can buy with some onion added.  I suppose if you were feeling lazy you could go with that route.  

Once the potatoes are done start preheating the oven.  Peel the skin off of those beauties and mash them up (with a little milk, of course)!

Once that is done, spoon them on top and spread them out.  Try to cover all the vegetables.

This bakes for a bit, about half way through turn the oven to broil or it will never finish and you will have hungry family/guests staring at you with discontent.

I think mine could have been cooked a little longer, but I was hungry, so was my better half, so that would have to do.

The result?
Pretty damn good.  This has to be one of my favorite rather inexpensive meals.  It was sweet and filling.  My boyfriend was not as impressed, but he hates sweet potatoes and cooked vegetables so his opinion on this one is irrelevant.  If you are looking for something different, I highly suggest you try it out.

Ingredients:
1 large onion, medium diced
1 cup carrots, chopped 
1 can (15 oz) sweet corn kernels
14 oz frozen peas
14 oz vegetable broth
4 large sweet potatoes
2 tablespoons flour
1/4 cup unsweetened vanilla almond milk (any milk can be substituted)
2 tablespoons olive oil

Directions:
1. Fill a large pot with water and boil sweet potatoes over medium-high heat
2. Heat olive oil over medium heat in a large skillet
3. Chop carrots and add to skillet
4. Once the carrots begin to soften add onions and cook until translucent
5. Add vegetable broth, flour, and remove from heat.  Stir in the flour well.
6. Grease baking dish or use a oil spray
7. Add corn and peas to the vegetable mix and stir them in evenly
8. Pour vegetable mix into dish and spread out evenly
9. Preheat oven to 350 F
10. When the potatoes are done drain them, peel them, then return them to the pan.
11. Add milk and mash the potatoes.
12. Spoon the potatoes on top of the vegetable mixture and spread evenly
13. Bake in the oven for about 30 min
14. Set the oven to broil and keep it in there until the potatoes start to slightly harden (about 10-15 min)
15. Take out and let set for 10 min 
16. Enjoy it. 


Wednesday, February 13, 2013

Pad Thai Ramen Noodles

Yesterday, when I got home from school, I was freakishly hungry.  I let my boyfriend claim the leftover ribs from dinner the night before (I didn't really want them anyways), but I still wanted something fast.  I had remembered seeing a recipe from Martha Stewart for a Ramen noodle upgrade and thought it would be perfect.  After all, it uses the college student staple and so far every odd Ramen concoction I have tried so far has ranged from okay to pretty tasty.

It even looks pretty good, which is more than I can say for a great deal of my other concoctions.

I even happened to have all the ingredients just laying around.  It was destined to happen.
My Sriracha situation is still pretty dire from my Sriracha wings, but I promise there was still more than enough for this recipe.  The recipe also did not mention what flavor Ramen works best, so I used the only flavor I had left.

I cooked the noodles with the flavor pack, drained off most of the liquid, and mixed the ingredients.  Once again I added about double the Sriracha because I love spicy food.  

At this point I had a little voice yelling in my head that two tablespoons was way too much peanut butter, but almost all the reviews for it said it tastes great, so I told that voice to shut the hell up.  
It didn't look like the picture, but it also didn't look too bad.

Looks can be deceiving.

This is one of the single worst things I have eaten.  Ever.  It tastes how you would imagine mixing Ramen and peanut butter would.  "Slimy peanut butter noodles" is a better name for this one.  I am highly against wasting food, but I honestly couldn't stomach more than three bites.  My stomach also made weird noises for a few hours after I ate it.  I ended up microwaving chicken nuggets and dipping them in leftover spinach dip.  I should have listened to that voice in my head.  I don't give my culinary training enough credit apparently.


Sunday, February 3, 2013

Sriracha Wing Sauce

So, I am a big fan of Sriracha.  The kind of crazy fan that puts it in everything from vegetables, to soups, to eating it on cheese and crackers.  If it was a person I would have it locked in my basement by now so it could never leave me.  Er ... Anyways, I recently got my boyfriend of seven years to try it by trying a bite of my Sriracha sub (it took long enough, I know).  Thankfully he fell in love with it.  I can finally introduce him to the wonderful world of the tasty fire that is Sriracha.

What would be the logical place to start?  Well, with Super Bowl Sunday coming up, what better place than with Sriracha wings?  I thought about a few ways to make one on my own, but since I wanted this to actually be a good introduction I wanted it to taste good and not some semi-edible abomination, so I decided to start with someone else's successful recipe. 

The recipe I chose to use as my base was Food Networks honey sriracha wing sauce.

The recipe calls for two pounds of wings, but I used three and still had so much extra sauce.  I pulled out my wings that had been defrosting in the fridge over night and dried each one off with a paper towel.


Then, I remembered to preheat the oven and scrambled to do that and grease my sheet pan before I forgot completely.  Despite my culinary training, I always forget this step and end up with something ready to go in the oven just to have to wait for it to heat up, or I put it in anyways and pray it still comes out right.  I am a college student, cut me a little slack.

I assembled the ingredients for the garlic butter that goes on the wings before they cook.
 Okay, okay.  For the nit pickers out there, I know that is salted butter.  I usually use unsalted, but I accidently got the wrong kind last time I was trying to speed shop.  I do not waste.  Also, I am not sure that was the right type of garlic, but it is better than nothing (what the hell is granulated garlic anyways).

I melted the butter and mixed it all up.  I added twice the garlic because for some reason this jar has been much weaker in flavor than what I am used to.
This is what it looked like.  That black speck is pepper I swear.  

Anyways, I am pretty sure my wings were still a little too cold.  When I poured this over them the butter solidified and I ended up having to spread a butter paste on the wings with my hands after I put them on the pan.  Nothing makes you feel sexier than having hands coated with butter and chicken purge.
I hoped for "this will be good enough" and threw them into the oven.  On to the sauce!

Okay, so I haven't actually bought soy sauce since I was in high school and I was not about to buy a container when thrifty little me keeps all of her takeout sauces.  Fun fact: did you know one of these packets is almost a full tablespoon? Which makes one good enough in my book for the recipe.

On the other hand, 1/3 cup of honey was almost all of what was left in my little bear, which means no more tea for me until I go back to the store.  I also doubled the Sriracha in the recipe (I really love this stuff and it did not seem like enough).  I also guessed on the lime.  Half a lime squeezed in seemed good enough to me.
Next time I make it, I am going to omit the butter.  I know it is hard to tell from this picture, but that is not a homogenous mixture.  The butter just sat on top and never really mixed in.  

Despite my problems with the garlic butter, the wings still looked pretty good when they came out of the oven.
The result?  They were pretty good.  No, that is a blatant lie.  They were some of the best wings I have ever had.  I suggest everyone make these.  Now.  The next time I make it though, I am going to add a little red pepper, since they were still a little mild for my taste.

Here is my adapted recipe for these amazing wings.

Ingredients:

Wings:
3 lbs Wings
2 tablespoons vegetable oil
2 tablespoons butter
2 tablespoons jarred garlic
salt and pepper to taste

Sauce:
5 tablespoons butter (although I would omit this)
1/3 cup honey
1/2 cup Sriracha
1 tablespoon soy sauce
juice from half a lime

Directions:
1. Preheat oven to 400 degrees F
2. Grease a half sheet pan
3. Dry wings off with paper towel
4. In a coffee cup or small bowl melt butter
5. Add vegetable oil, garlic, salt, and pepper.  Mix well
6. Coat wings and place in a single layer on pan
7. Bake the wings until they are done. 40-60 minutes.
8. In a small pot melt butter over the stove on low heat (for the love of everything, skip this step)
9. Add honey, Sriracha, soy sauce, and lime juice
10. Cook until the sauce starts to simmer
11. Remove wings from sheet pan an coat in sauce
12. Enjoy the shit out of them.